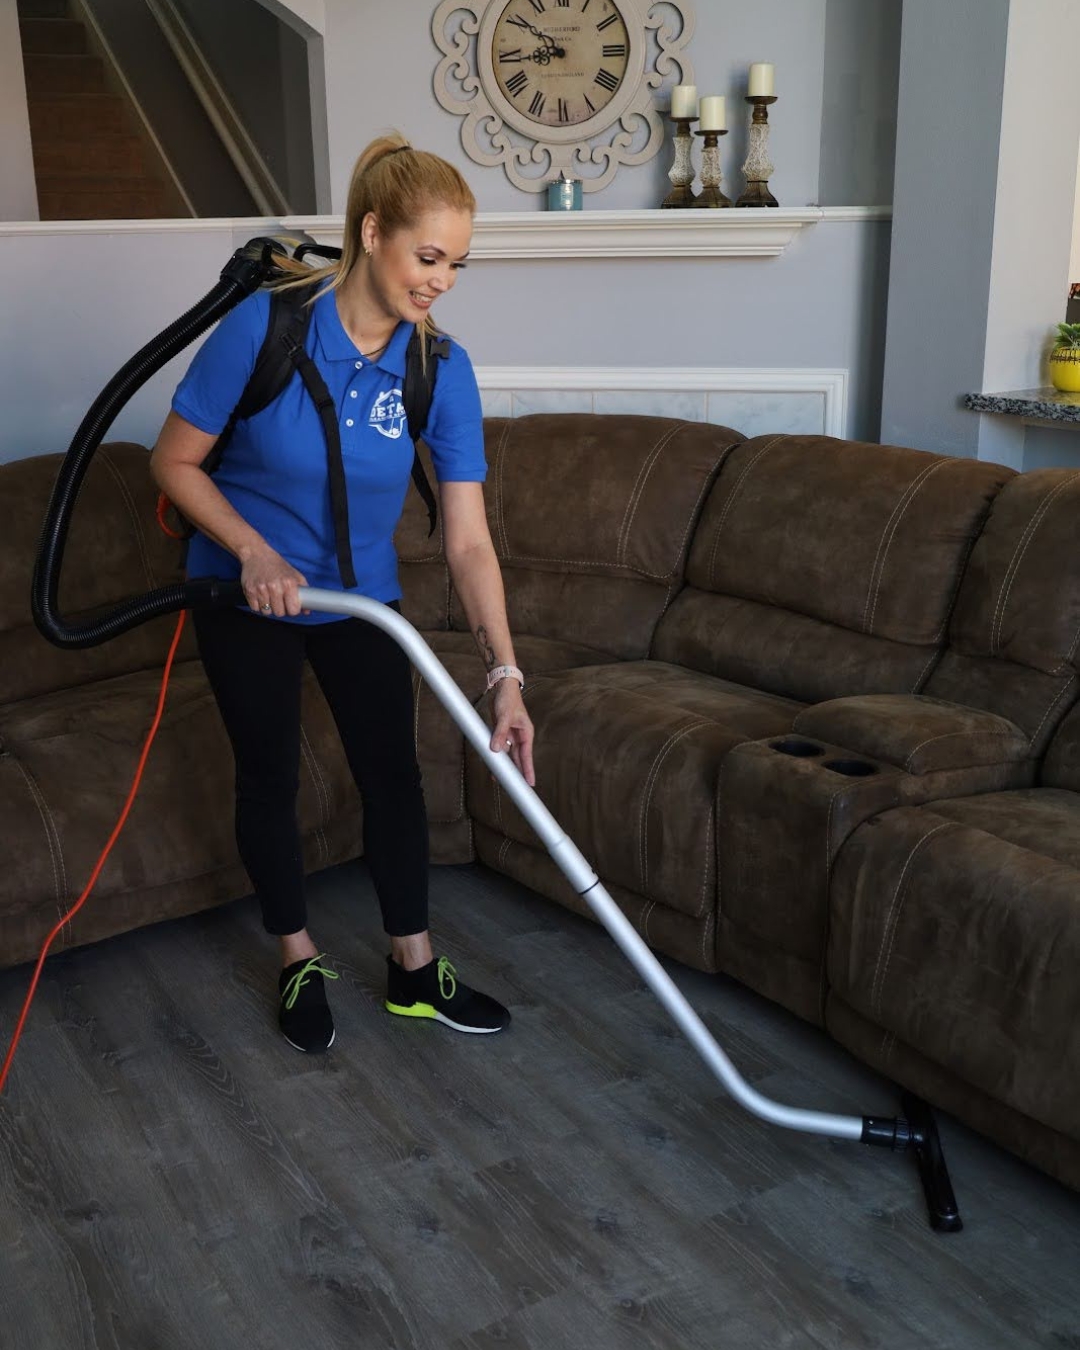
How to Sweep Floors: 9 Simple Tips for Homeowners
If you’ve ever heard the saying “out of sight, out of mind,” you know that it sometimes applies to our floors as well. With all of the more pressing cleaning chores we need to take care of, it’s easy to forget the importance of sweeping—at least until we look down!
Fortunately, it’s easy to clear away dusty floors in just a few minutes. Most of us don’t put much thought into our sweeping tools or techniques, but it’s worth noting that a few simple tricks can help you sweep more efficiently. Let’s take a look at a few tips for how to sweep floors like a pro.
1. Clear Away Obstructions and Messes
First, it’s important to declutter the area you’ll be sweeping to remove any messy obstructions.
In addition, you’ll want to move aside small pieces of furniture, throw rugs, and any decorations that might get in your way. Note that this is a good opportunity to throw your rugs in the wash and dust any furniture that you’re moving: it will prevent them from getting your freshly cleaned floors dirty when you replace them!
You should also take care to clean away any liquid messes before you sweep. While it may feel natural to sweep after you’ve washed dishes or wiped down your countertops, for example, you’ll need to take extra care to dry the area before sweeping. Trying to sweep wet floors will only create a bigger mess.
2. Choose Your Weapons
You’re probably already aware that there’s a difference between indoor and outdoor brooms. Outdoor brooms have thick, stiff bristles, for example, while indoor brooms tend to have softer bristles that make them easier to use.
Depending on the area you’re sweeping, you may want to reach for a broom with angled bristles, which can make it easier to reach tight spaces and hard-to-reach corners. You should also consider grabbing a tool with a foam grip for an easier grasp. Beyond that, finding the right broom is a matter of choice!
When it comes to dustpans, most varieties will do the job in the same way. However, make sure there’s an edge-to-edge seal on the lip to help collect debris, and consider one with a built-in cleaning comb to make broom cleaning a breeze. The best options will be sturdy and long-lasting.
3. Pick a Strategy
Everyone has their own preference in terms of how to sweep. You might prefer sweeping from the back of the house to the front, for example, or you might like to break rooms up into smaller sections.
Whatever you decide, it can be helpful to pick a single strategy and stick to it. This can keep you from jumping from room to room and missing areas by accident.
4. Sweep Toward the Exit
No matter what order you decide to sweep the rooms of your home, it’s important to remember one basic detail: sweep toward the door.
Starting at one side and sweeping all debris toward the exit can make it easier for you to create a single pile for later collection. Don’t sweep yourself into a corner!
5. Collect Dust in One Area
Depending on the layout of your home, you may find it easier to sweep all of the dust into a single area or two. This makes it easier to work without breaking your flow, and it also means you’re spending less time bending over to sweep multiple small piles into your dustpan.
6. Watch Your Sweeping Technique
Sweeping floors seems like an easy trick to master, but it’s a good idea to make sure you have the basics down. Press your broom lightly against the floor and sweep in a continuous motion. Many people find it easier to sweep in short, quick strokes instead of longer ones, but it’s a matter of preference.
Whatever your sweeping style, don’t forget to keep ergonomics in mind. Bending and twisting movements can be hard on the back, especially if you have a large area to sweep. Try to keep your spine steady and focus on using only your arms as you sweep.
7. Try the Dustpan “Drawbridge” Technique
If you have a hard time getting all of your debris into the dustpan, the drawbridge technique might help. To perform it, you’ll raise the back of the dustpan a little while keeping the lip in contact with the floor. Sweep the dust over the lip, and then “lower the drawbridge” by setting the dustpan back down, trapping dust inside where it belongs.
8. Dispose of Your Dirt
Once you’ve finished, you may be surprised by the mounds of dirt on the floor: dust accumulates fast! Clear away this dust with care, and make sure to move your dustpan slowly to the trash to avoid annoying last-minute spills.
9. Clean Your Broom
This is the step many of us forget, but your broom needs cleaning, too! Once you’ve swept your floor, you may notice an accumulation of dander, dirt, and dust bunnies on the bristles. Use your hands or a dedicated broom-cleaner to pull these away.
You’ll also want to wash your brush every now and then—often every five and ten uses, depending on the amount of dirt you’ve cleared away. To do this, rinse it with a little dish soap and water.
Don’t forget to store your broom with the bristles off the floor!
Let Us Show You How to Sweep Floors
If you’d rather leave this cleaning chore to the professionals, our team would be happy to show you how to sweep floors. From sweeping to dusting to polishing, we’re experienced at working with the most effective cleaning techniques for a gleaming final product.
Want to see what we can do? Get an instant quote today to learn more!
Share this article
Follow us
A quick overview of the topics covered in this article.

